


Besides growing wild in forests, many species of truffles can now be cultivated on a commercial scale. In the 1970s new inoculation techniques were developed in France which lead to truffle cultivations springing up all around the world from the USA to Argentina and from the UK to Australia.

These truffle orchards are usually set up with the help of a truffle tree company and require a substantial investment. There is however a traditional technique which truffle hunters use to grow truffle trees. It is a simple recipe which is used to give nature a hand and promote truffle growth in the forest, however it can work equally well in your own backyard. We started as an experiment six years ago and we have just harvested our first ever truffles. As this method works it is worth sharing what we did.

We started off by checking the soil. Soil pH is all important if you are planning to grow a truffle tree or two. You will need an alkali soil with a pH over 7.5. You can test the earth with a pH meter from a garden centre. These are not especially accurate but will give you a general idea. If you are serious about your experiment then it is worth getting your soil analysed. We sent samples of our soil for analysis at the local university but there are various soil testing services online.

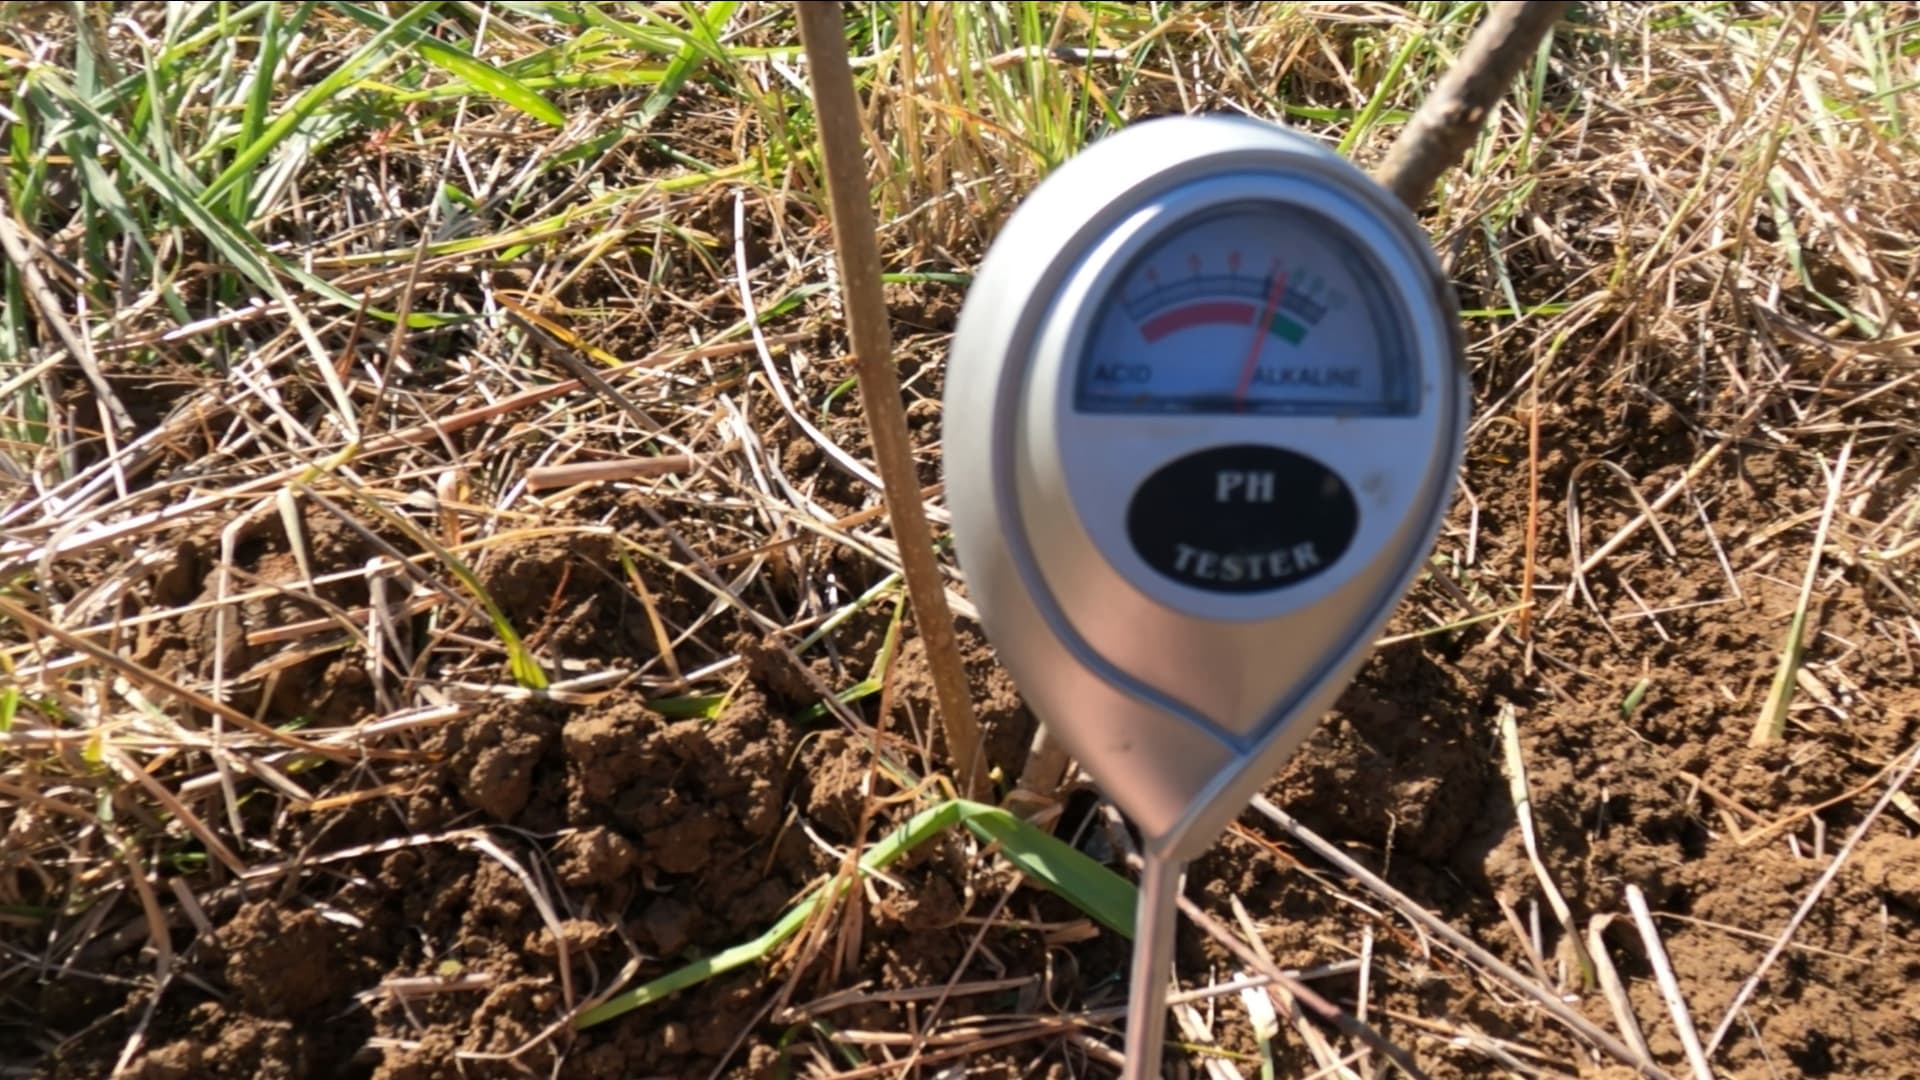
If it turns out that your soil is acidic, the pH can be altered by adding some lime. Soil composition also plays an important role in truffle growth, it should be a soft well-drained soil – a nice even mix of sand, silt and clay. So again you might need to make some adjustments as you prepare to plant.

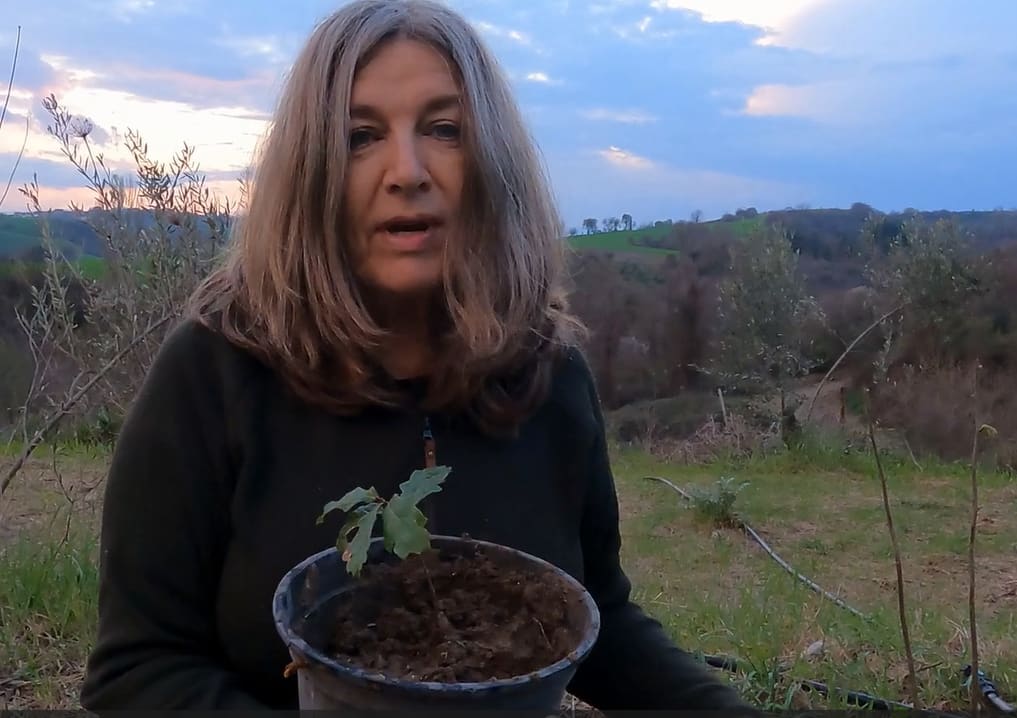
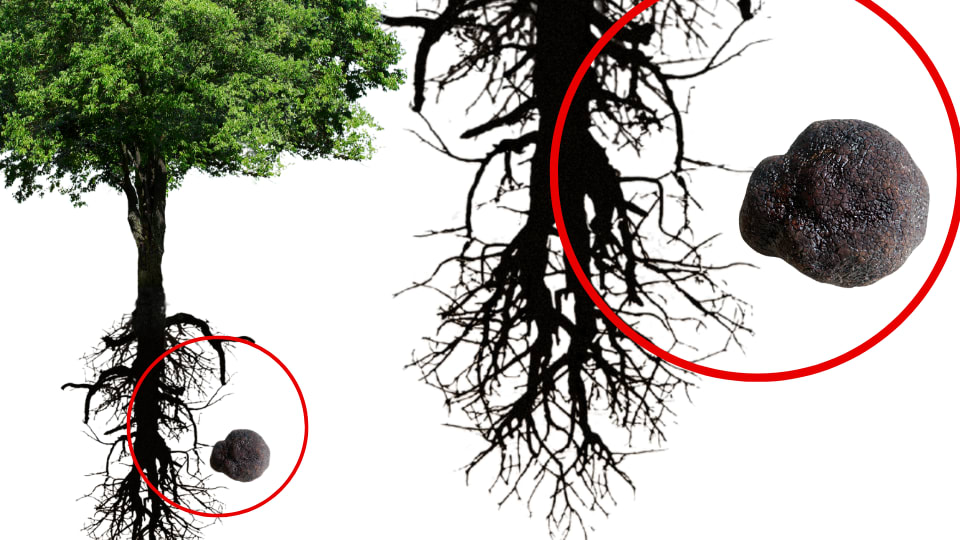
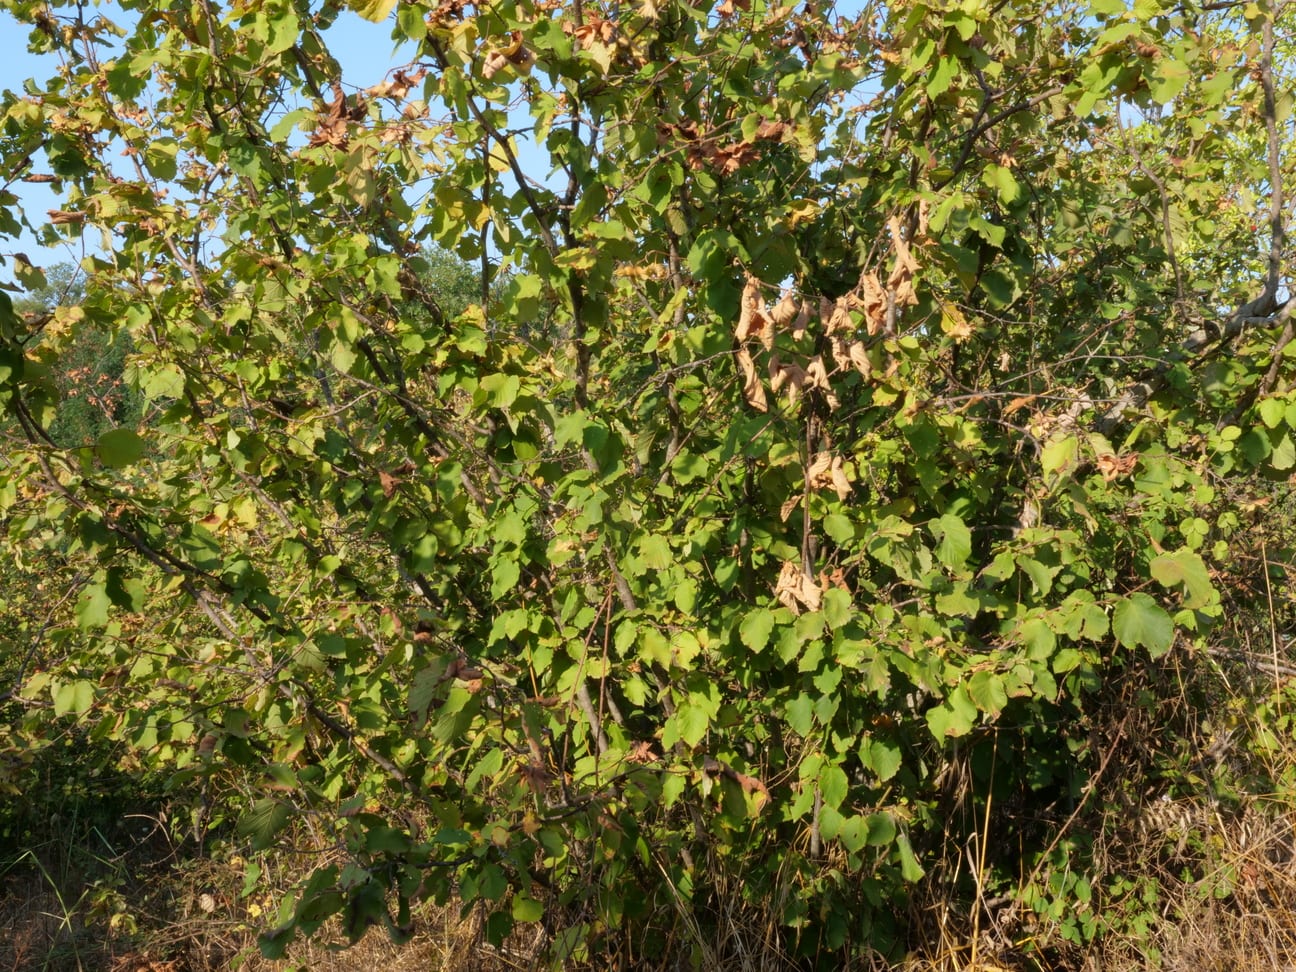
Your choice host tree will depend on the species of truffle you wish to cultivate. European truffles usually grow on the roots of oak, hazel, hornbeam, beech and lime trees. Select trees which are well suited to your area. In our case this was the hazelnut tree which seems to thrive in this region. The thought of a dual crop was also appealing – if our truffle crop does not materialize, at least we might get to eat some nuts as a compensation prize. Hazelnut trees regenerate by producing new shoots from the root system. We carefully removed some of these saplings from the base of the tree and in winter they will be transplanted in our garden This should give the shoots ample time to root before the summer heat kicks in.

Now that the earth is ready and we have our young trees, it is time to prepare a slurry. This is a mixture containing the key ingredient: truffle spores. These spores are found in the gleba or flesh of mature truffles. During the season we end up with lots of pieces left over from the process cleaning and cutting the truffles we collect. These scraps are dried or frozen and are full of millions of truffle spores. The more mature the truffles, the better quality of the spores, so if possible use later season truffle scraps. If you don’t have access to truffle cuttings, spores can be bought online for around 20 pound. If you are struggling to find spores, contact me. If you live in Europe, I might be able to send you some of our scraps.


There are four main truffle species which are cultivated: tuber melanosporum, tuber aestivum/uncinatum, tuber brumale and tuber borchi.

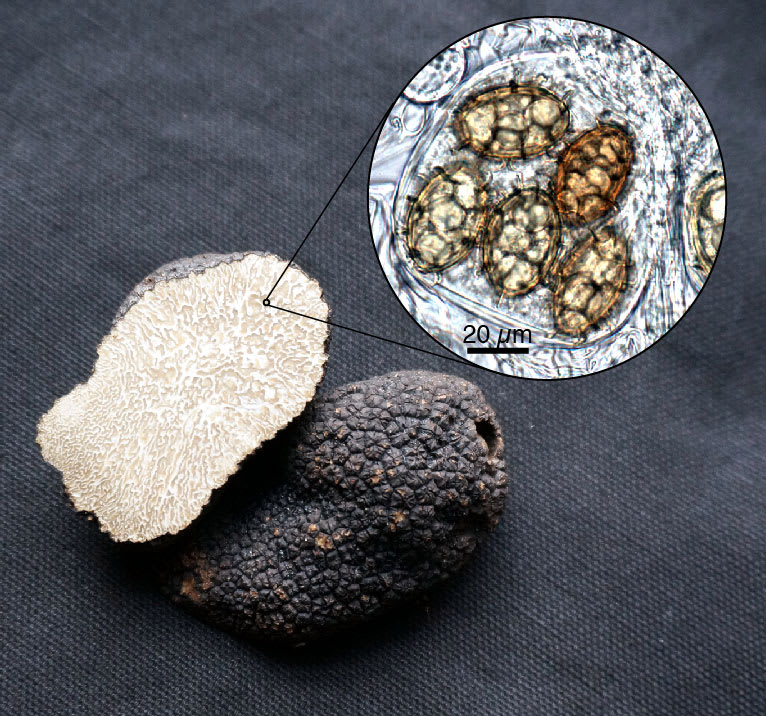
We decided to focus our efforts on tuber brumale which is one of the black winter truffles. Again we chose this species as it already grows in the wild in this area and at this altitude. The most popular truffle species for cultivations is the Perigord (or melanosporum) This black truffle is three times as valuable as the brumale but would be trickier to cultivate in this climate, particularly without expert help. It seems that the black summer truffle or tuber aestivum/uncinatum is more forgiving as it is being successfully cultivated around the globe.

Once you have established the species of truffle, you can prepare a slurry. You will need
100 g of truffle trimmings or 1 gram of truffle spores in 100 g of potting soil
50 g of fructose
80 ml of distilled or spring water
20g of vermiculite
Method
Put the truffle trimmings (or spores in soil) in a clean bowl add the water and the fructose. Blend the mixture with a hand blender if you have one. I don’t so I use a regular blender and have to make the slurry in batches.
Leave the mixture for a couple of hours and then add vermiculite. This is supposed to help the saplings root more quickly and it can prevent rot. Now leave this mixture overnight, the vermiculite will absorb most of the water. You are looking for a fairly thick consistency like wet sand.

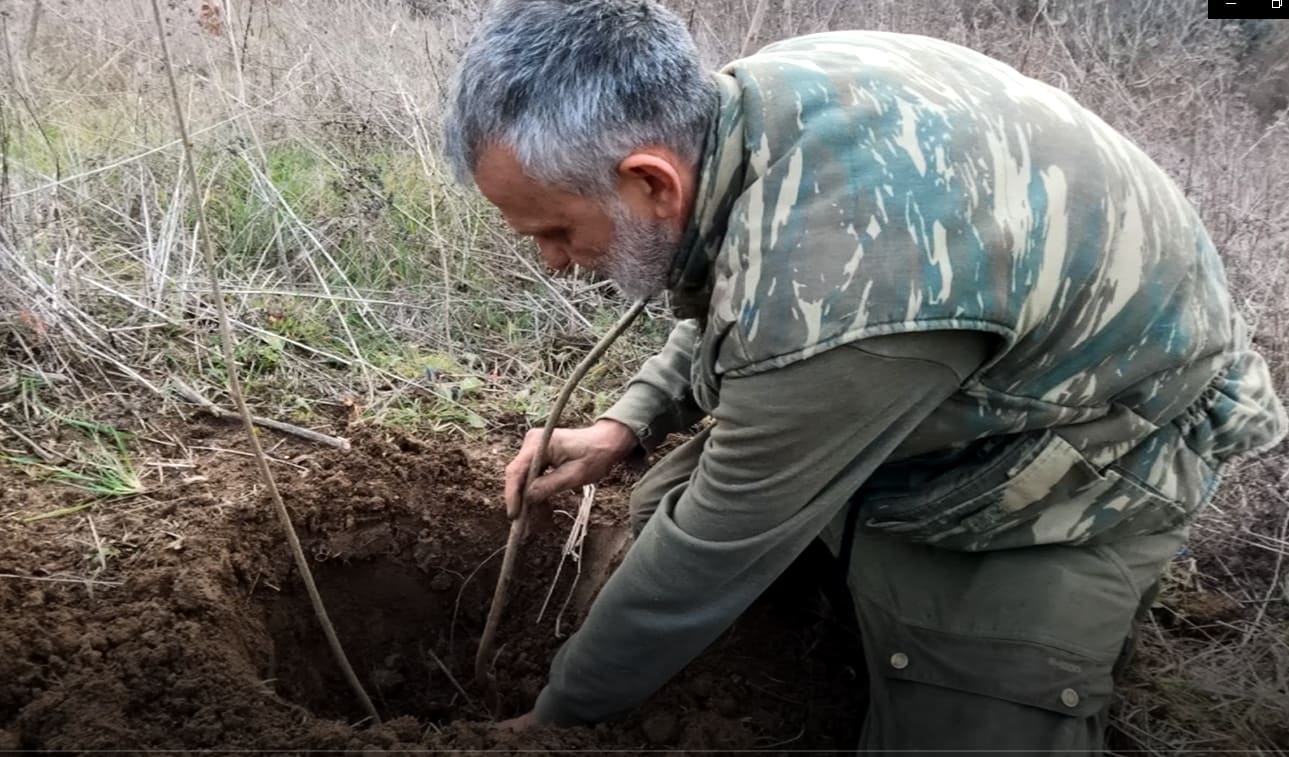
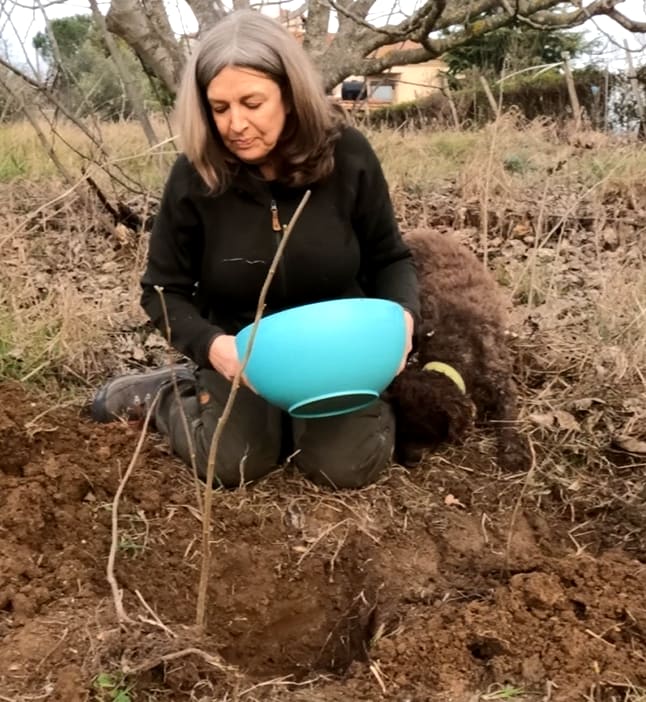
Now to plant the saplings we dug a hole around 20 cm deep, added a teaspoon of the slurry and filled in the hole with earth. Once you have watered well, that’s it. Now you just have to wait for six years! if you don’t have saplings the you could plant an acorn or hazelnut in a pot with good soil and a spoon of slurry.

For us, this has been a slow, experimental process- over the last 6 years we have planted around 20 homegrown truffle trees in our back garden. That first year, we started off 5 just out of curiosity really. Three of those trees started producing truffles this January. We realised that it worked and that was the kick in the backside for us which lead to us planting 200 hazelnut trees over spring 2024. We are using spores from this season’s tuber brumale and saplings from an old hazelnut grove that we have coppiced. The hazel grove in question is the site of another truffle growing experiment – another story for another time.

It goes without saying that nowadays there are more scientifically accurate ways to go about starting a truffle cultivation. Bear in mind though that truffle companies can charge a small fortune and that spending thousands is no guarantee that any orchard will be successful. If you already hunt truffles, this is an interesting way to use up all of the truffle scraps you accumulate over a season. If you don’t, you can pick up some spores for the price of a half decent bottle of wine.


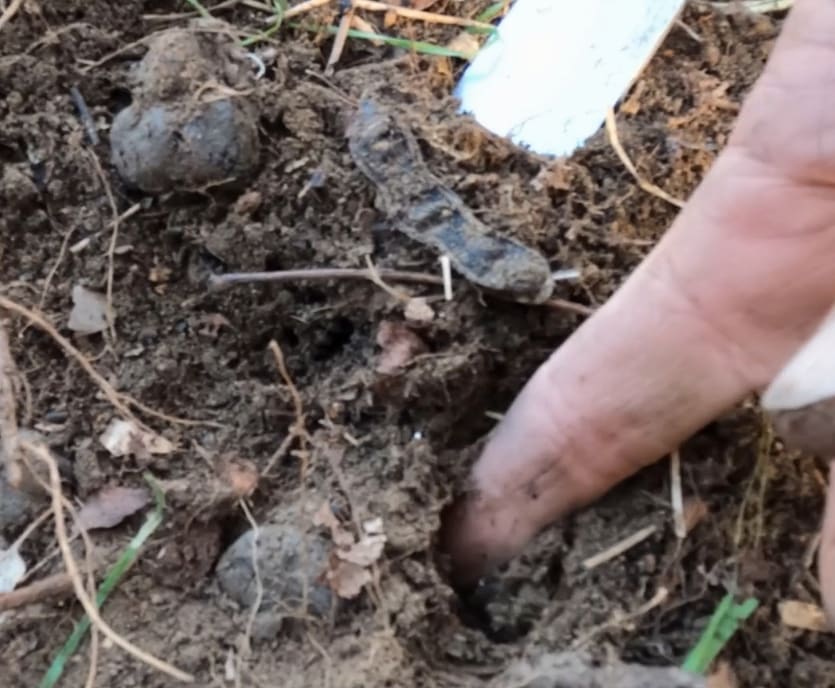
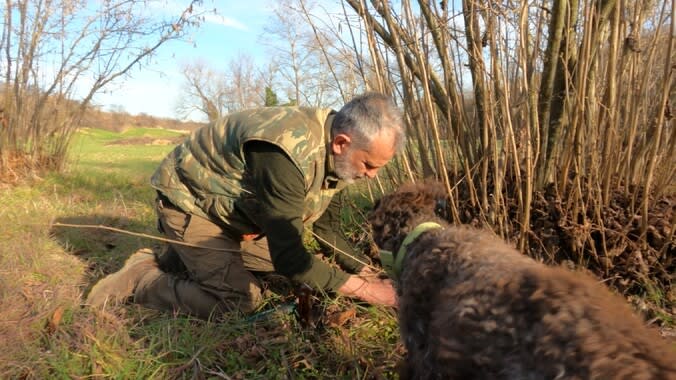
Our three young hazelnut trees have produced a handful of truffles. Hardly a triumph, but watching the dogs go to work in our back garden really made my year. Small and worthless they may be, but these brumale are the first sign that things are really happening below ground and that this simple, old school recipe does indeed work!

